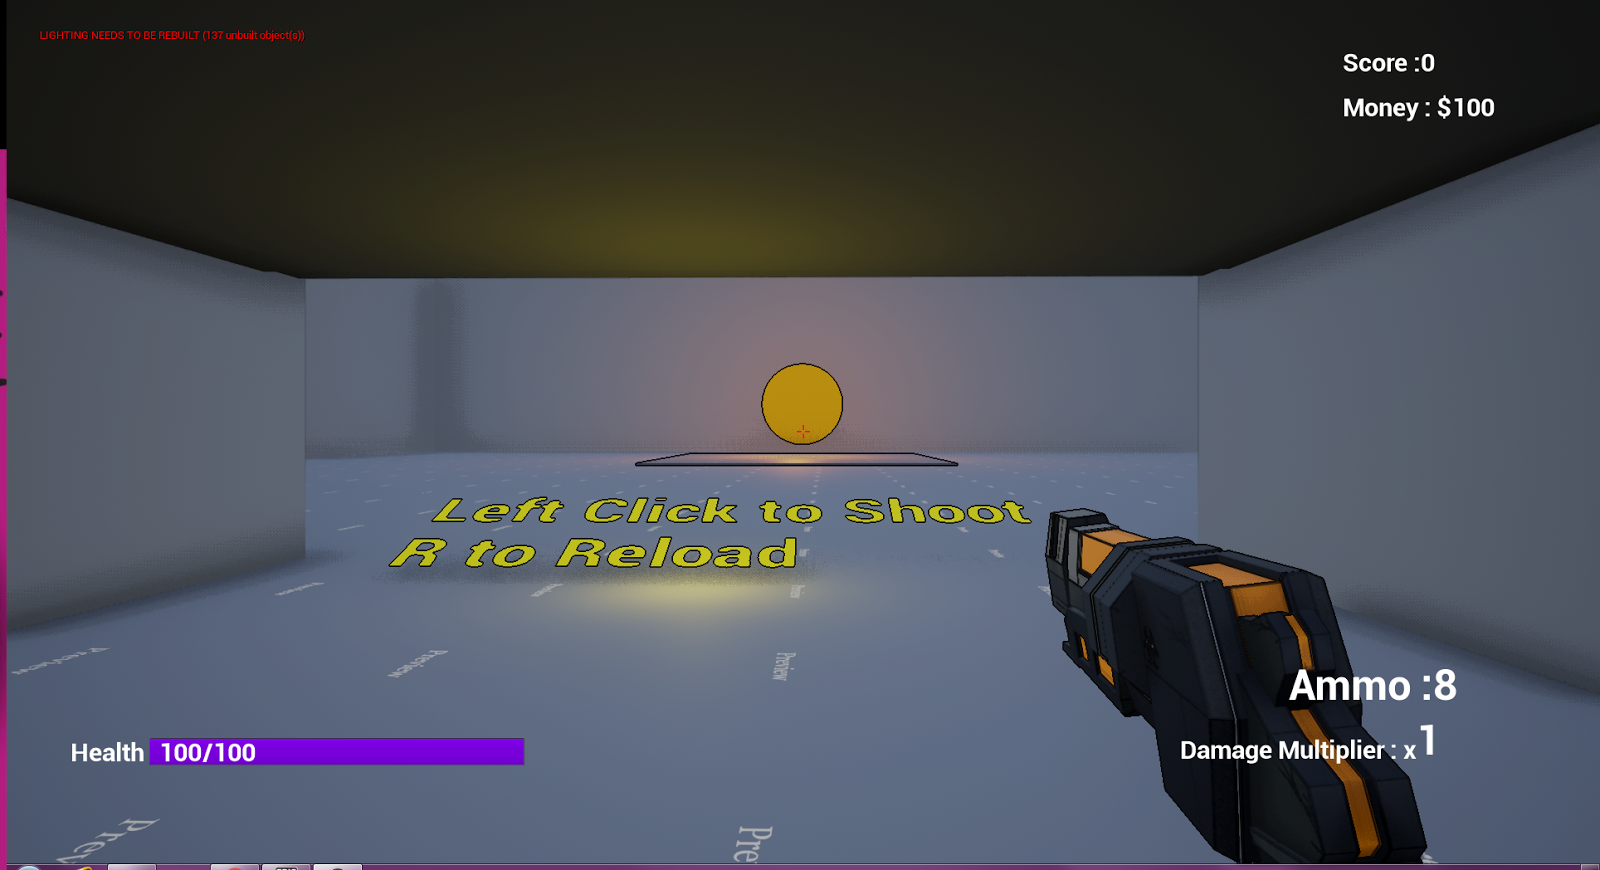
The rest of the textures have had updates, one of the feedback given to us when using the gatling gun was that the screws were far too big, screw size has been reduced and more have been added, black lines were added to all the textures, thicker black lines on certain areas will give it a more cel shaded feel, more grunge was added to the guns (Including drone) along with the completion of the shotgun texture, the pistol had minor additions to the grunge layer, the decals have been flipped to be the right way when put into engine:
Showing posts with label UV. Show all posts
Friday, 5 February 2016
Shop Unwrap & Texture Updates
Here is the shop unwrap, I had some major issues unwrapping the drone, the verts were crossed in the UV editor, I removed the drone and unwrapped the shop, the hologram area on the shop has been removed and instead of having the drone animate which we don't have time for the drone will be the projection of the shop:
Friday, 27 November 2015
Pistol Texture Changes, Emissives & Final Shotgun UV and Base Texture
I updated the pistol paint detail and had to change the position of the chamber holes and the gun name decals because it was hidden. Based on the emissive Dan done to the pistol which is now working, I was able to add my updates into engine and create the emissive for the shotgun myself, the base colours and details are on the shotgun and need paint details added over the weekend:
Monday, 23 November 2015
Shotgun UV - Finished UV
I fixed the problem with the shotgun geometry and broke the animation connection so it would unwrap properly, here's the final UV for the shotgun:
Friday, 20 November 2015
Shotgun UV Progress
Here is the current progress for the shotgun UV, I encountered some issues with some of the geomatry which needs fixing in order to carry on, like the pistol we removed some of the hidden unnecessary faces:
Pistol - Finish UV and Texture Progress (Base Colours & Black Highlights)
Here is the finished UV for the pistol, we used a checkered texture to isolate any stretched faces, the uv shapes were planar projected with the x, y and z axis and layered/grouped in order to fit each shape inside of the UV space:
Friday, 13 November 2015
Pistol Edit UV - UV Progress
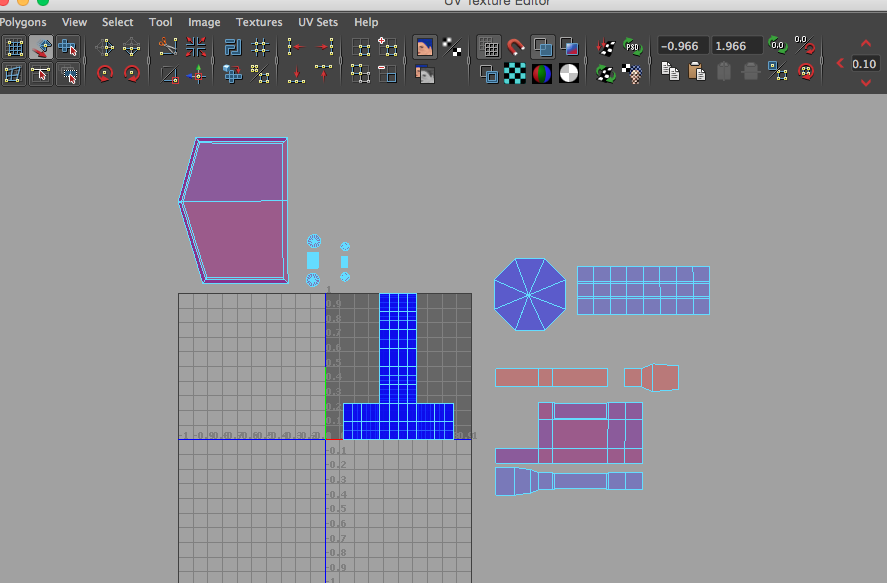
Here is the current state of the pistol UV, still having a real hard time understanding the UV side of things, I looked at some tutorials but it was hard to translate the techniques to the shape of my UV layout, Dan helped me and showed me some basics, I completed the main body and chamber, a checker texture was used to identify any stretching:
Subscribe to:
Posts (Atom)